Our Car Body Repair & Painting Process — Step by Step
See exactly how we repair and paint cars in Sharjah, from the first inspection to the final polish. Every service follows its own set of steps, and each one starts with a free check.
How We Repair & Paint Cars — Four Rules Behind Each Job
The steps change from service to service. These four rules do not.
Inspect first
A free check shows the real damage before any work or price is agreed.
Repair before paint
Metal and plastic are made sound before a drop of colour goes on.
Test the colour
Matched by computer from your paint code, tested on a sample, then applied.
Finish properly
Clear coat, paint cutting and polishing where the job calls for it.
Full Body Painting
A full repaint lasts only as long as the preparation under it. Most of the work happens before the colour.
Prepare & Mask
Dents and scratches are prepared, then trims and glass are masked.
Sand
The old surface is sanded so new paint can grip.
Prime
Primer seals the surface and gives an even base.
Base Coat & Clear Coat
The colour matched base coat goes on, then the clear coat.
Cut & 3M Polish
The paint is cut and finished with 3M polishing.
Dent Repair
The metal is shaped back first, so filler stays thin and the panel keeps its lines.
Inspect the Dent
Size, depth, access and paint condition are checked.
Push the Metal Back
The dent is worked out from behind the panel.
Pull Low Spots
Areas that cannot be reached are pulled from the front.
Reach Deep Damage
Deeper creases are worked in stages.
Set Stretched Metal
Stretched metal is brought back to shape.
Sand & Level
The repair is sanded level with the panel.
Minimal Filler
A thin layer only where it is needed.
Prime
Primer seals the repaired area.
Paint & Clear Coat
Matched colour, then clear coat.
Bumper Repair & Painting
Plastic flexes and needs its own preparation, or new paint can crack and lift.
Inspect the Bumper
Cracks, scratches, mounting points and shape are checked.
Prepare the Damage
Cracks are repaired and scratches prepared until the plastic is sound.
Sand & Level
The repair is smoothed flush with the rest of the bumper.
Prime
The surface is sealed for an even paint base.
Test, Paint & Clear Coat
Colour tested on a sample, then base coat and clear coat.
Cut & Polish
Paint cutting and 3M polishing.
Want to See the Steps on Your Own Car?
Bring it in for a free check. We show you the damage and explain which steps it needs.
Accident Damage Repair
Hidden damage around the impact is found at the start, not halfway through the job.
Inspect & Estimate
Visible and nearby damage is checked, then you get a written estimate.
Metal Repair
Dents are pushed and pulled back into shape before any filler.
Fill & Sand
Filler only on small low spots, then sanded level.
Primer
Seals the repaired area for an even base.
Colour Test & Paint
Tested on a sample, then applied with clear coat.
Cut & Polish
Paint cutting and polishing for an even gloss.
Final Check
Panels, gaps and finish are checked.
Handover
We walk you through what was repaired.
3M Rubbing & Polishing
Polishing on a dirty car drags grit across the paint, so cleaning comes first.
Deep Cleaning & Washing
Dirt and dust are removed so they cannot scratch the paint.
Light Scratch Removal
Light scratches in the clear coat are worked out first.
Rubbing & Sanding
Heavier marks are rubbed and sanded where the paint needs it.
Cutting & Rubbing Compound
Compounds level the surface and remove swirls and oxidation.
3M Polishing
3M polish refines the surface and brings back the gloss.
Finishing Polish
A final pass for a deep, even shine.
Rim Painting
Brake dust and kerb rash ruin a finish from underneath, so the rim is cleaned and repaired before colour.
Remove & Inspect
Checked for peeling paint, kerb rash, corrosion, bends and cracks.
Clean & Degrease
Brake dust, grease and dirt are removed.
Sand & Prepare
Damaged or uneven areas are sanded ready for primer.
Prime
Primer seals the surface before the colour coat.
Apply the Finish
Gloss, matte, metallic, colour matched or two tone.
Clear Coat
Added where required for an extra protective layer.
Brake Caliper Painting
The wheel comes off so the whole caliper is painted, and the brake parts stay protected.
Remove the Wheel & Inspect
The whole caliper can be reached and checked.
Clean & Degrease
Brake dust, grease and dirt are removed.
Remove Rust & Prepare
Rust and loose paint come off, ready for primer.
Mask
Pads, discs, hoses and the bleeder valve are covered.
Prime, Paint & Clear Coat
Primer, your chosen colour and clear coat, in turn.
Refit the Wheel
The wheel goes back on once the finish is ready.
What Happens When Steps Are Skipped
A rushed job can look fine on day one. Under the Sharjah sun and humidity, the shortcuts can show within months.
| Step skipped | What you see later |
|---|---|
| No primer | Paint peels or lifts, especially on plastic bumpers |
| Colour not tested | The repaired panel looks a shade off in daylight |
| Filler over unshaped metal | Waves in the panel, and filler that can crack |
| No masking | Overspray on rubber seals, trims, glass or brake parts |
| No clear coat or polish | A dull finish that fades faster in strong sun |
Process Questions, Answered
Want a step explained on your own car? Talk to the technician who will do the work.
How do you make sure new paint matches the old?
We read your paint code and mix the colour by computer. Every colour has many shades, so it is tested on a sample and checked against your car, then applied.
Do you use filler on dents?
Only a thin layer on small low spots. The metal is pushed, pulled and set back into shape first, so the filler is not doing the work.
Why does bumper paint need its own preparation?
A bumper is flexible plastic, not steel. Cracks are repaired, the surface is sanded and primed so the paint grips and does not crack or lift.
Why remove the wheel to paint calipers?
It is the only way to reach and paint the whole caliper, and to mask the pads, discs, hoses and bleeder valve properly.
Does every job start with a check?
Yes. The free check shows which steps your car needs, and your price is confirmed before work begins.
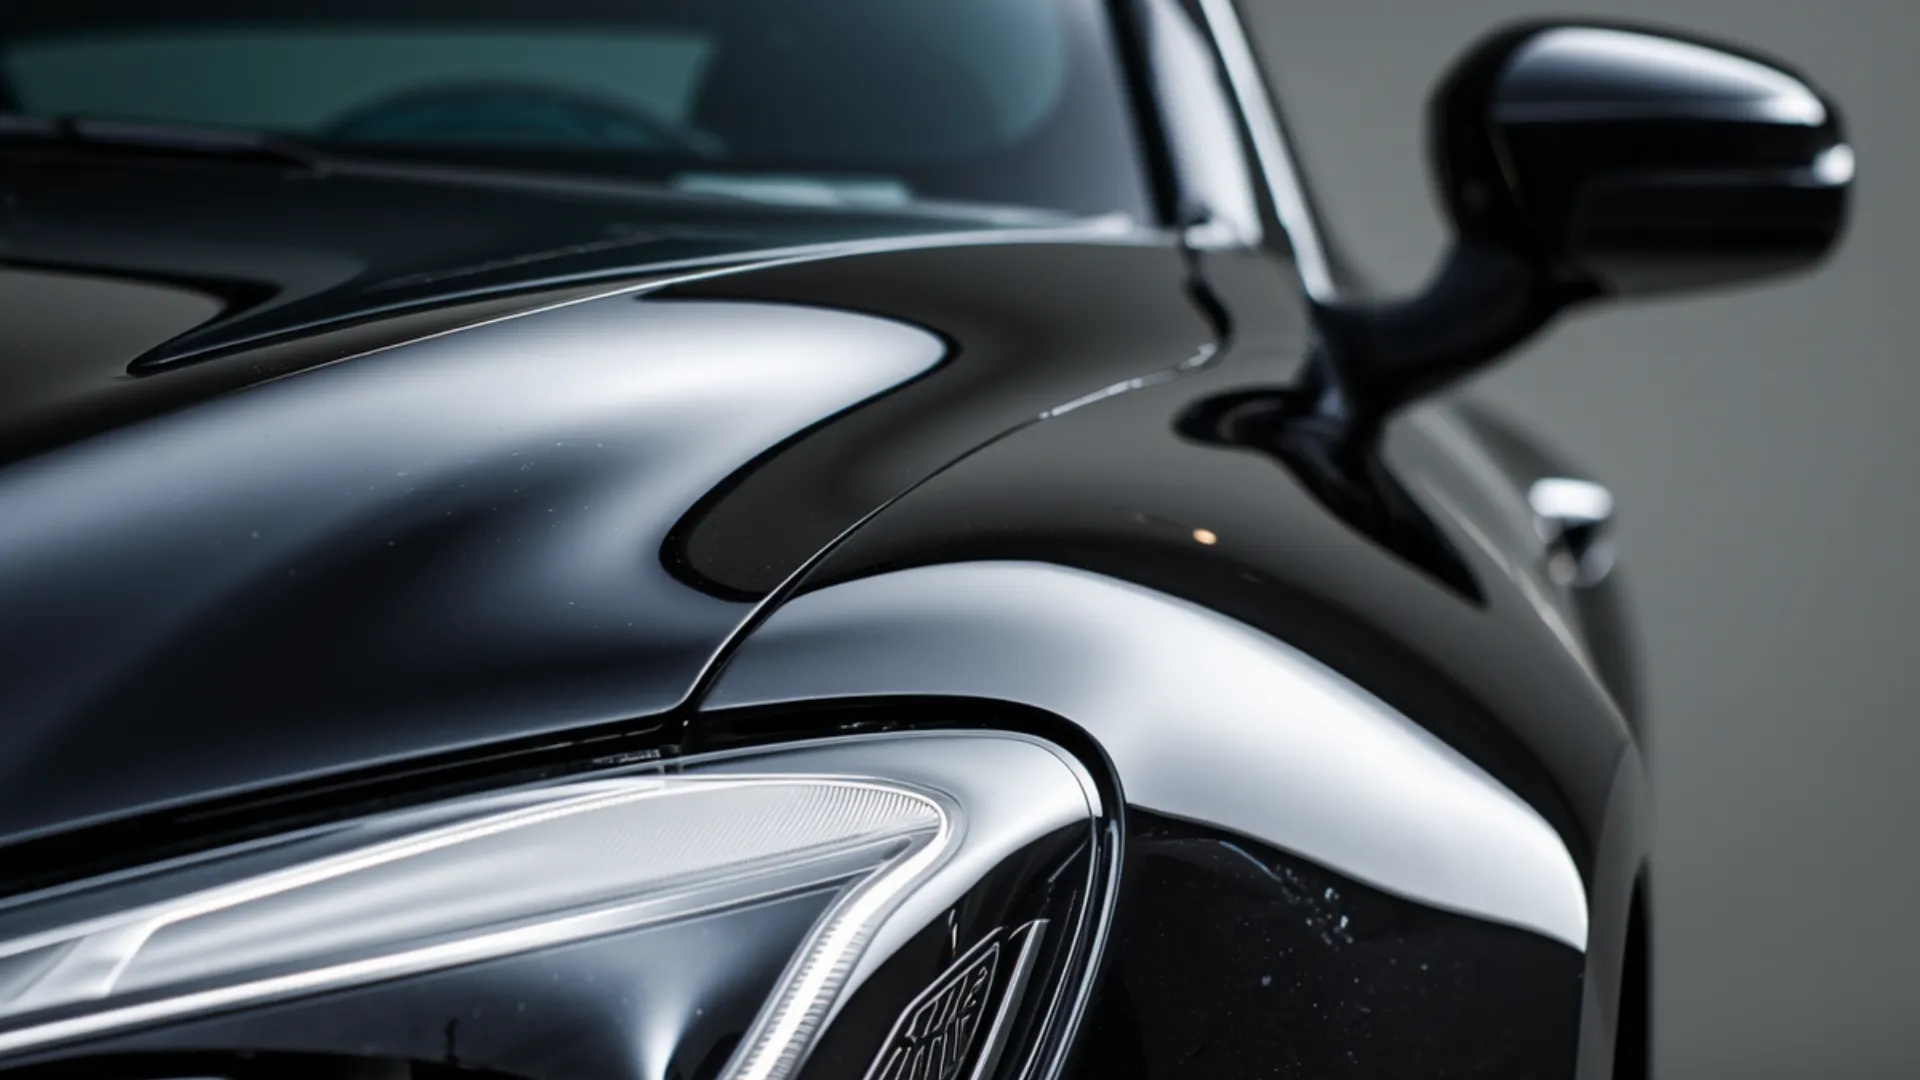
Where the Work Happens — Industrial Area 2, Sharjah
Every step on this page is carried out at our car painting workshop on Street 13. Walk in for a free check or call ahead.
See the Difference the Right Steps Make
Our car body repair and painting process in Sharjah starts with a free check and ends with a finish you can inspect in daylight. One call books it.